Another year done and summer holidays to look forward to.
So, what went well and what failed to launch?

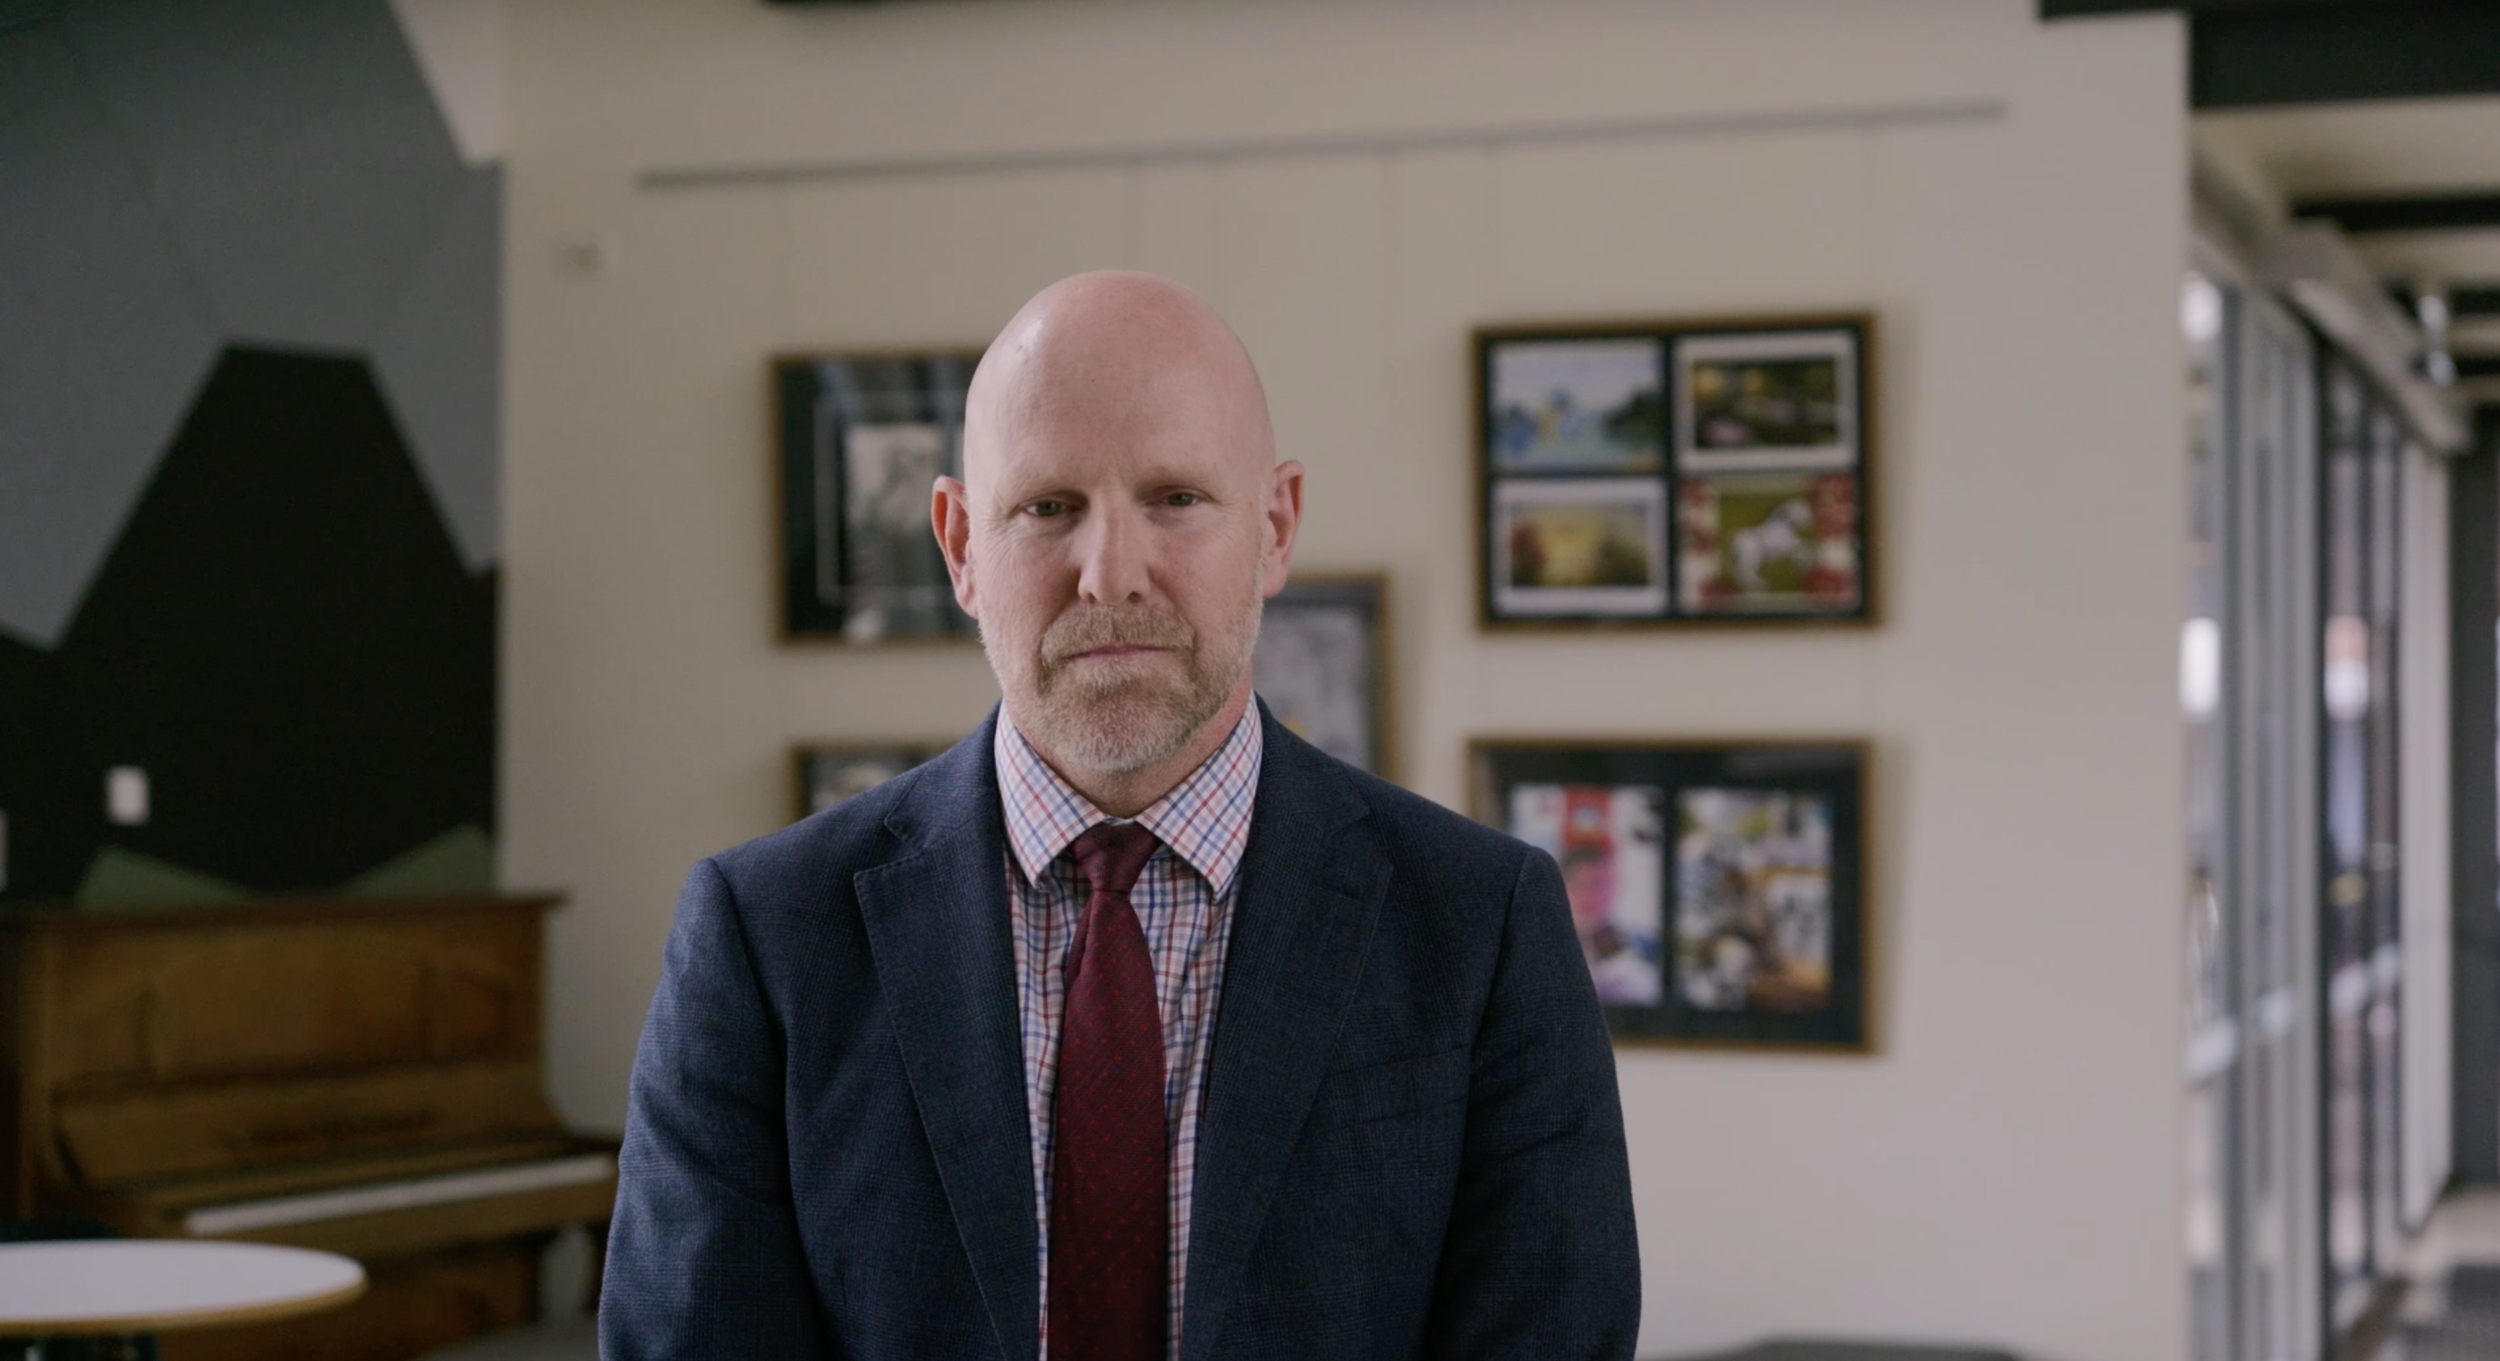
Another year of amazing young people entering the world of adulthood. EM1x 40-150 f2.8
I have a more solid client base, with AFL Tas, two schools and some sports associations to fall back on, but not enough to call a real job yet.
My sport is in a good place, plenty of experience, gear is sufficient to get the job done and feeling confident. Football and basketball are the two big ones, low light my only minor concern, but overall I am pretty happy. I may get the new Panasonic 100-500 to expand my full frame reach, but we will see.
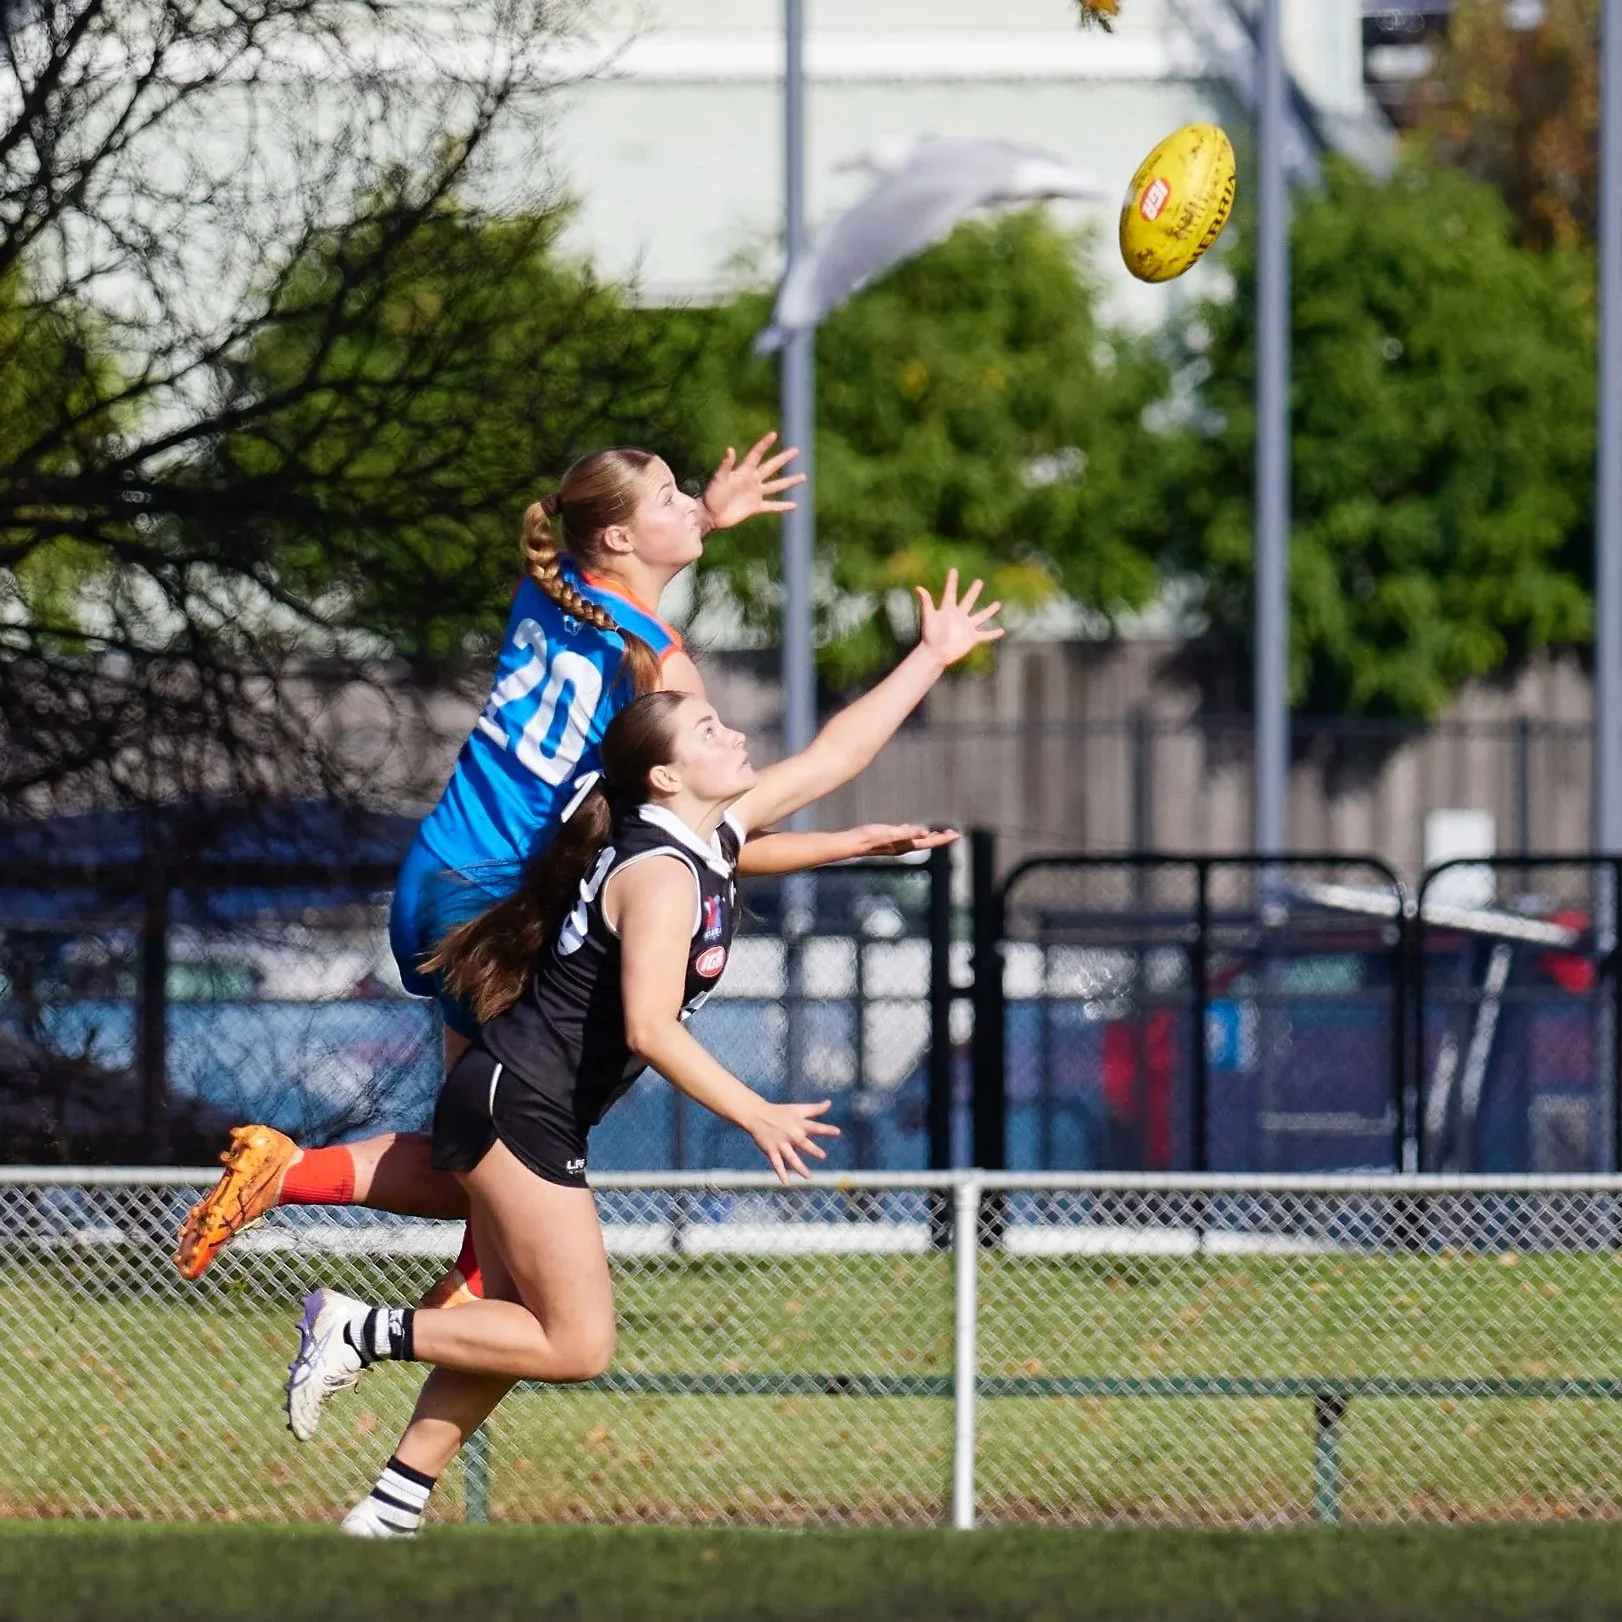
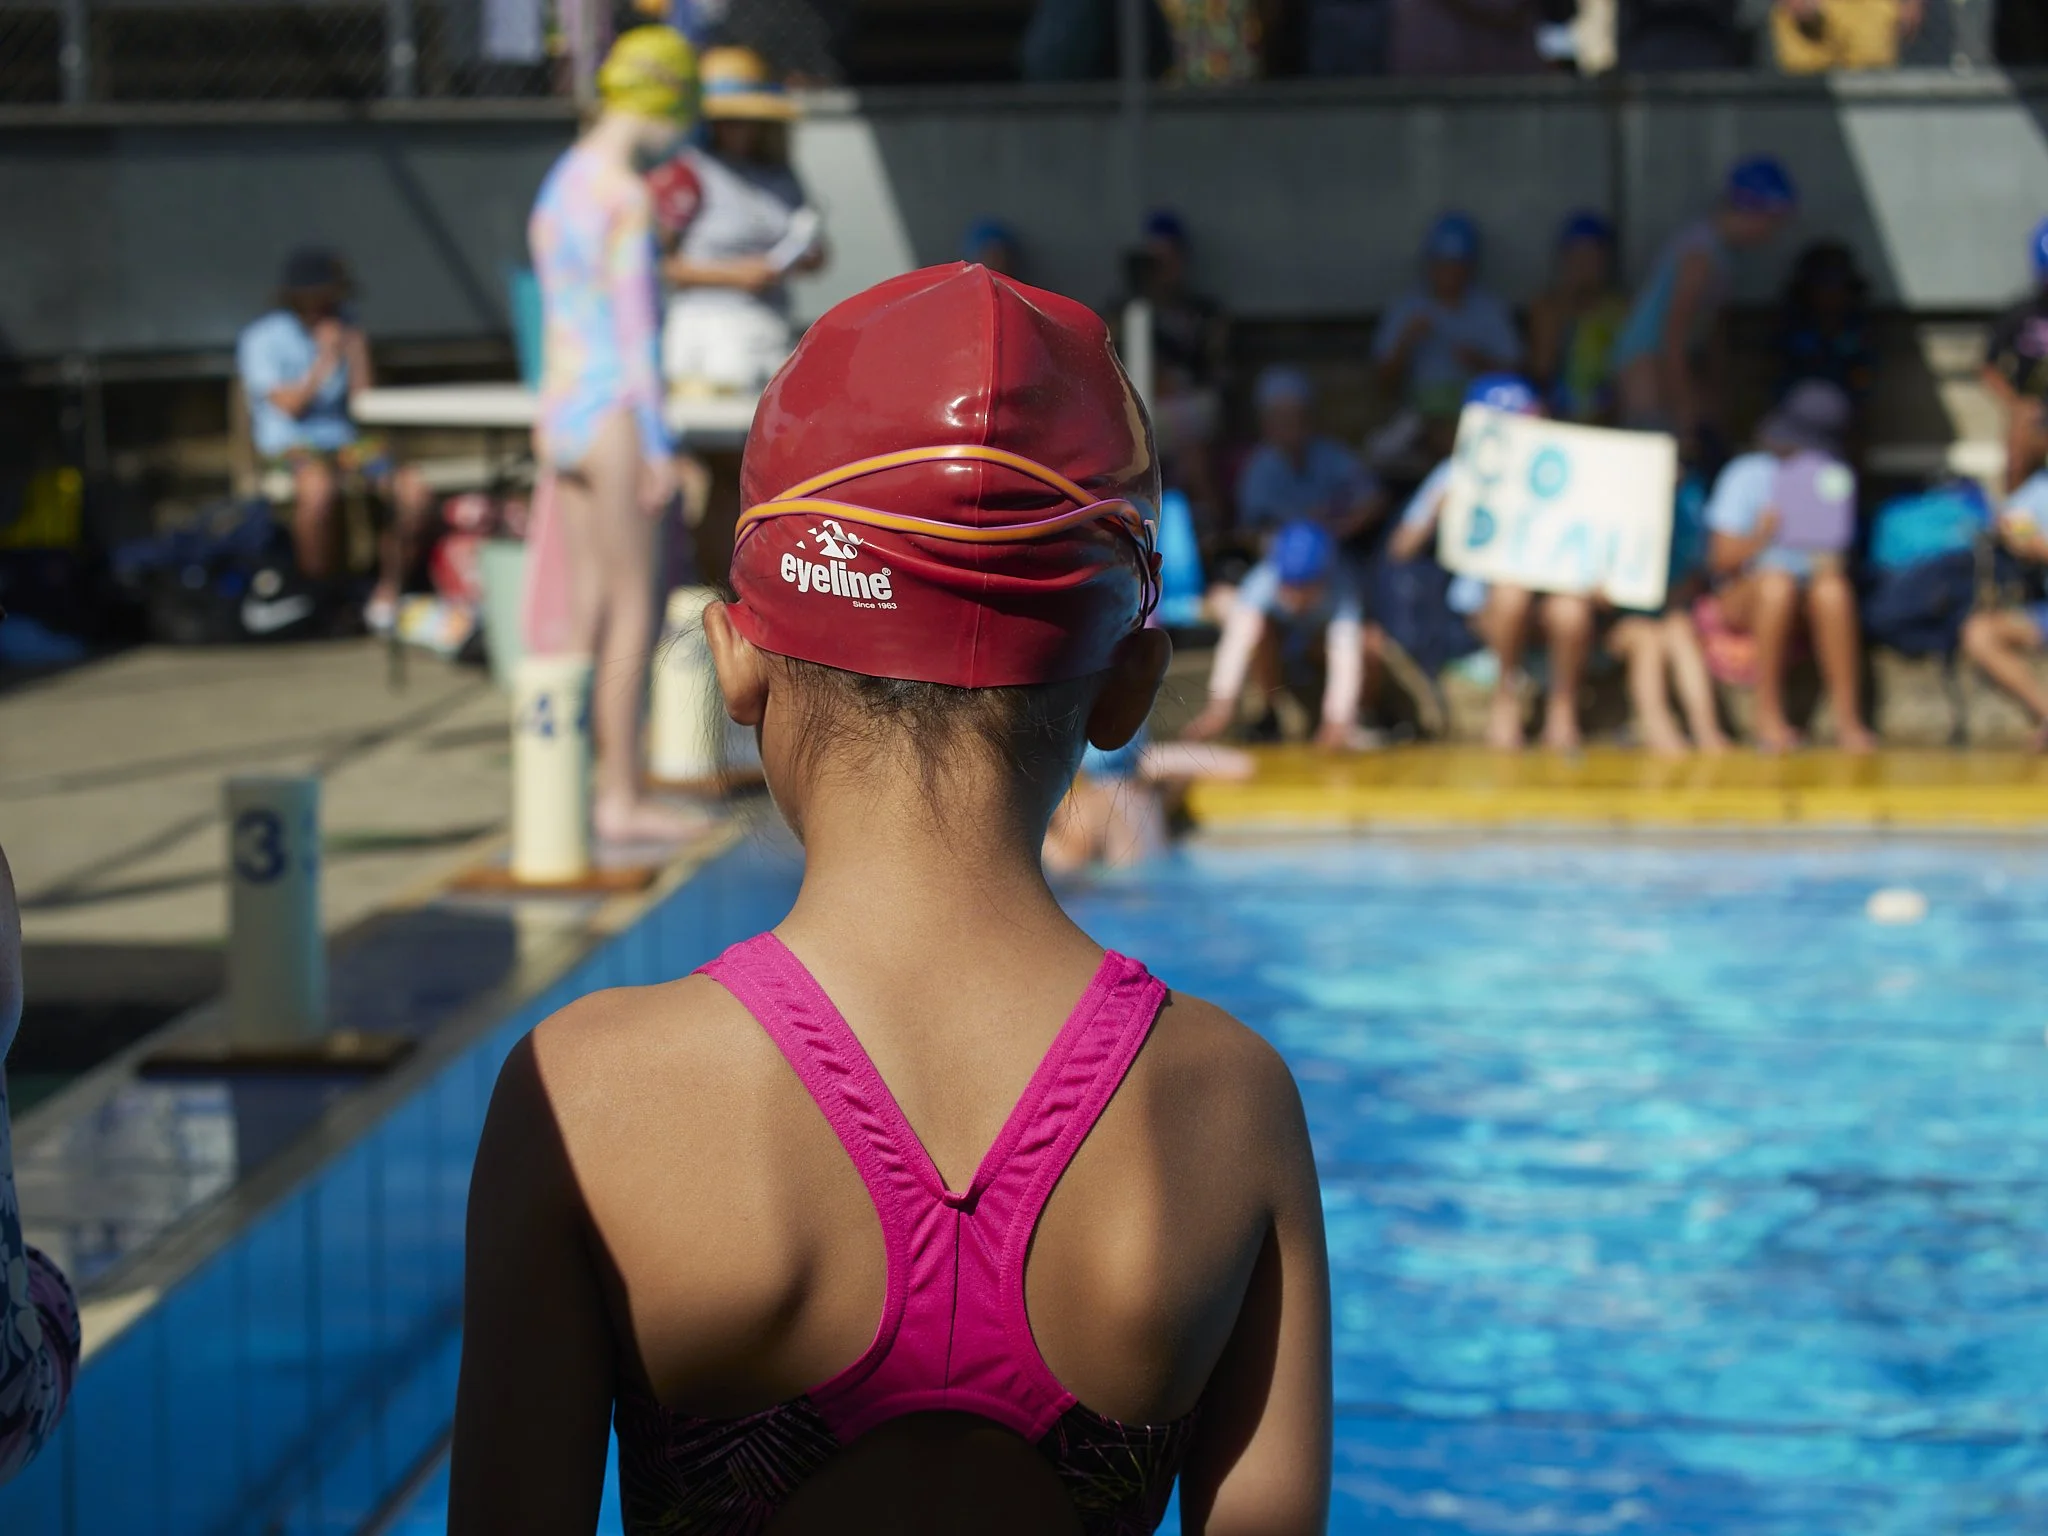
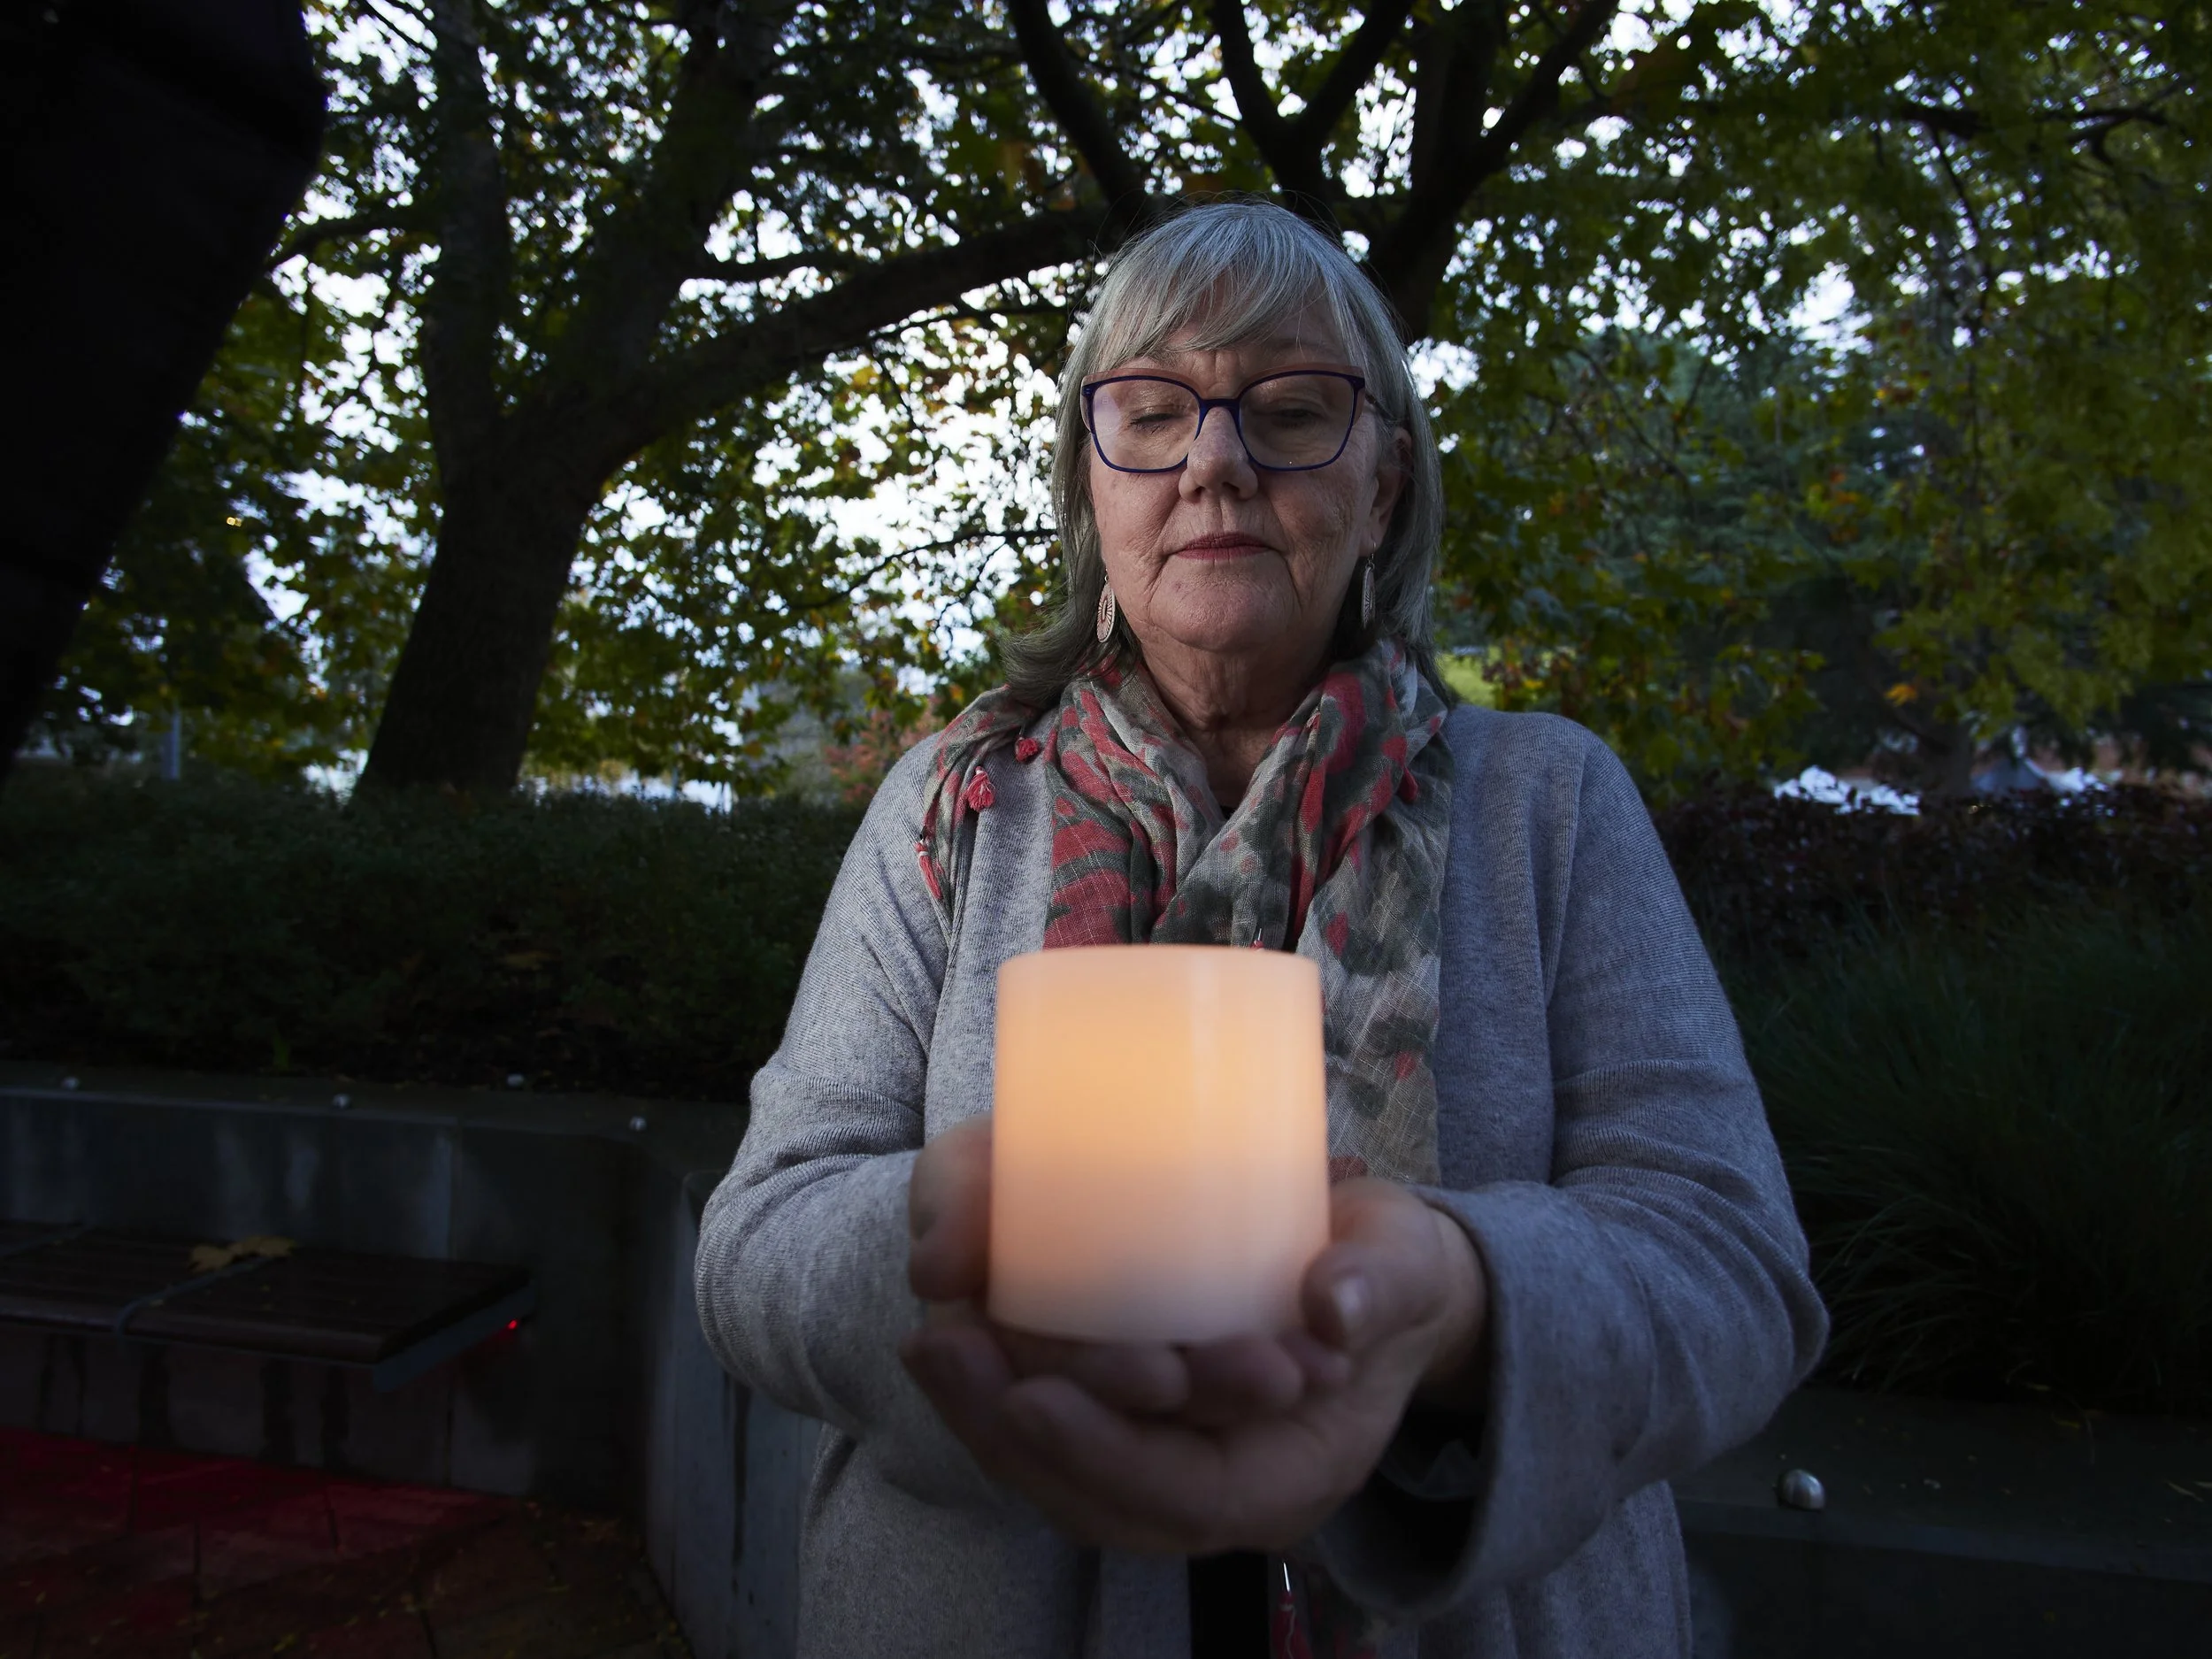
Grass roots sport is important to me.
Events are solid, my school needs also. I have processes that I know I can rely on.
Video is still a heavy load, but I am in a good place with it from a basic processing perspective, my grading and consistency are where I want them to be, I just need more practice putting things together.
Gear that has proven itself again and again;
The EM1.2 and original G9’s have survived another year. My four work horses have over 3 million frames up between them, so anything from here is gravy baby!
My Godox 860 flash is a hard working beast that can do over 2000 shots in a night without breaking a sweat and regularly does.
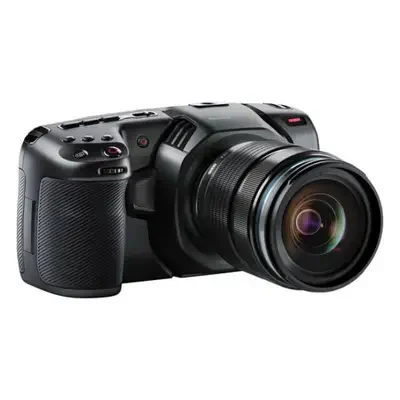
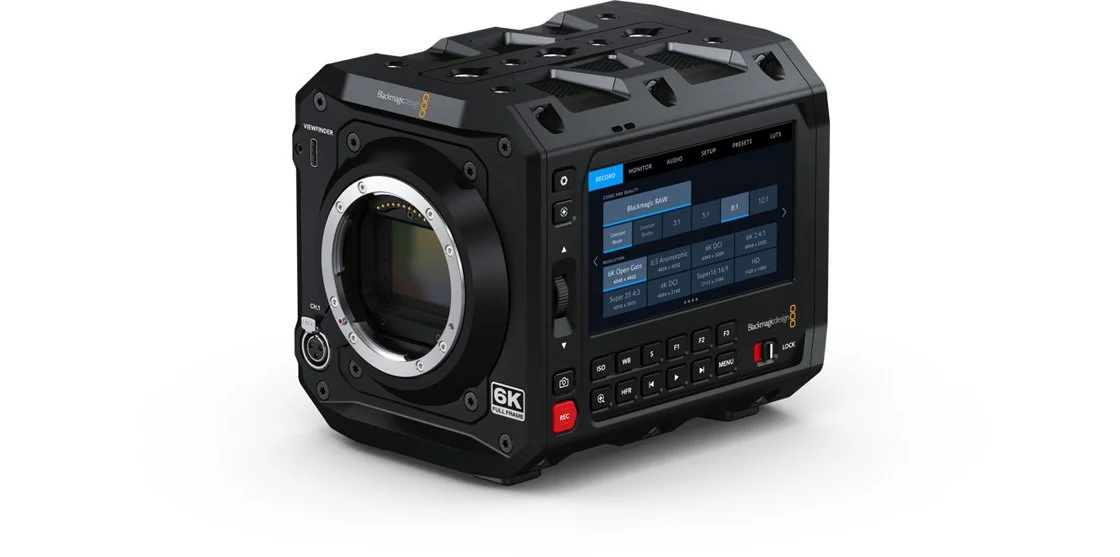
The Black Magic 12G recorders providing B-Raw and studio Resolve have cemented my video capabilities and the GH5s/S5 combo seems to work. I am a B-Raw convert, even if that means limiting myself to two cameras, but ProRes 422 HQ (G9II) is a decent filler codec.
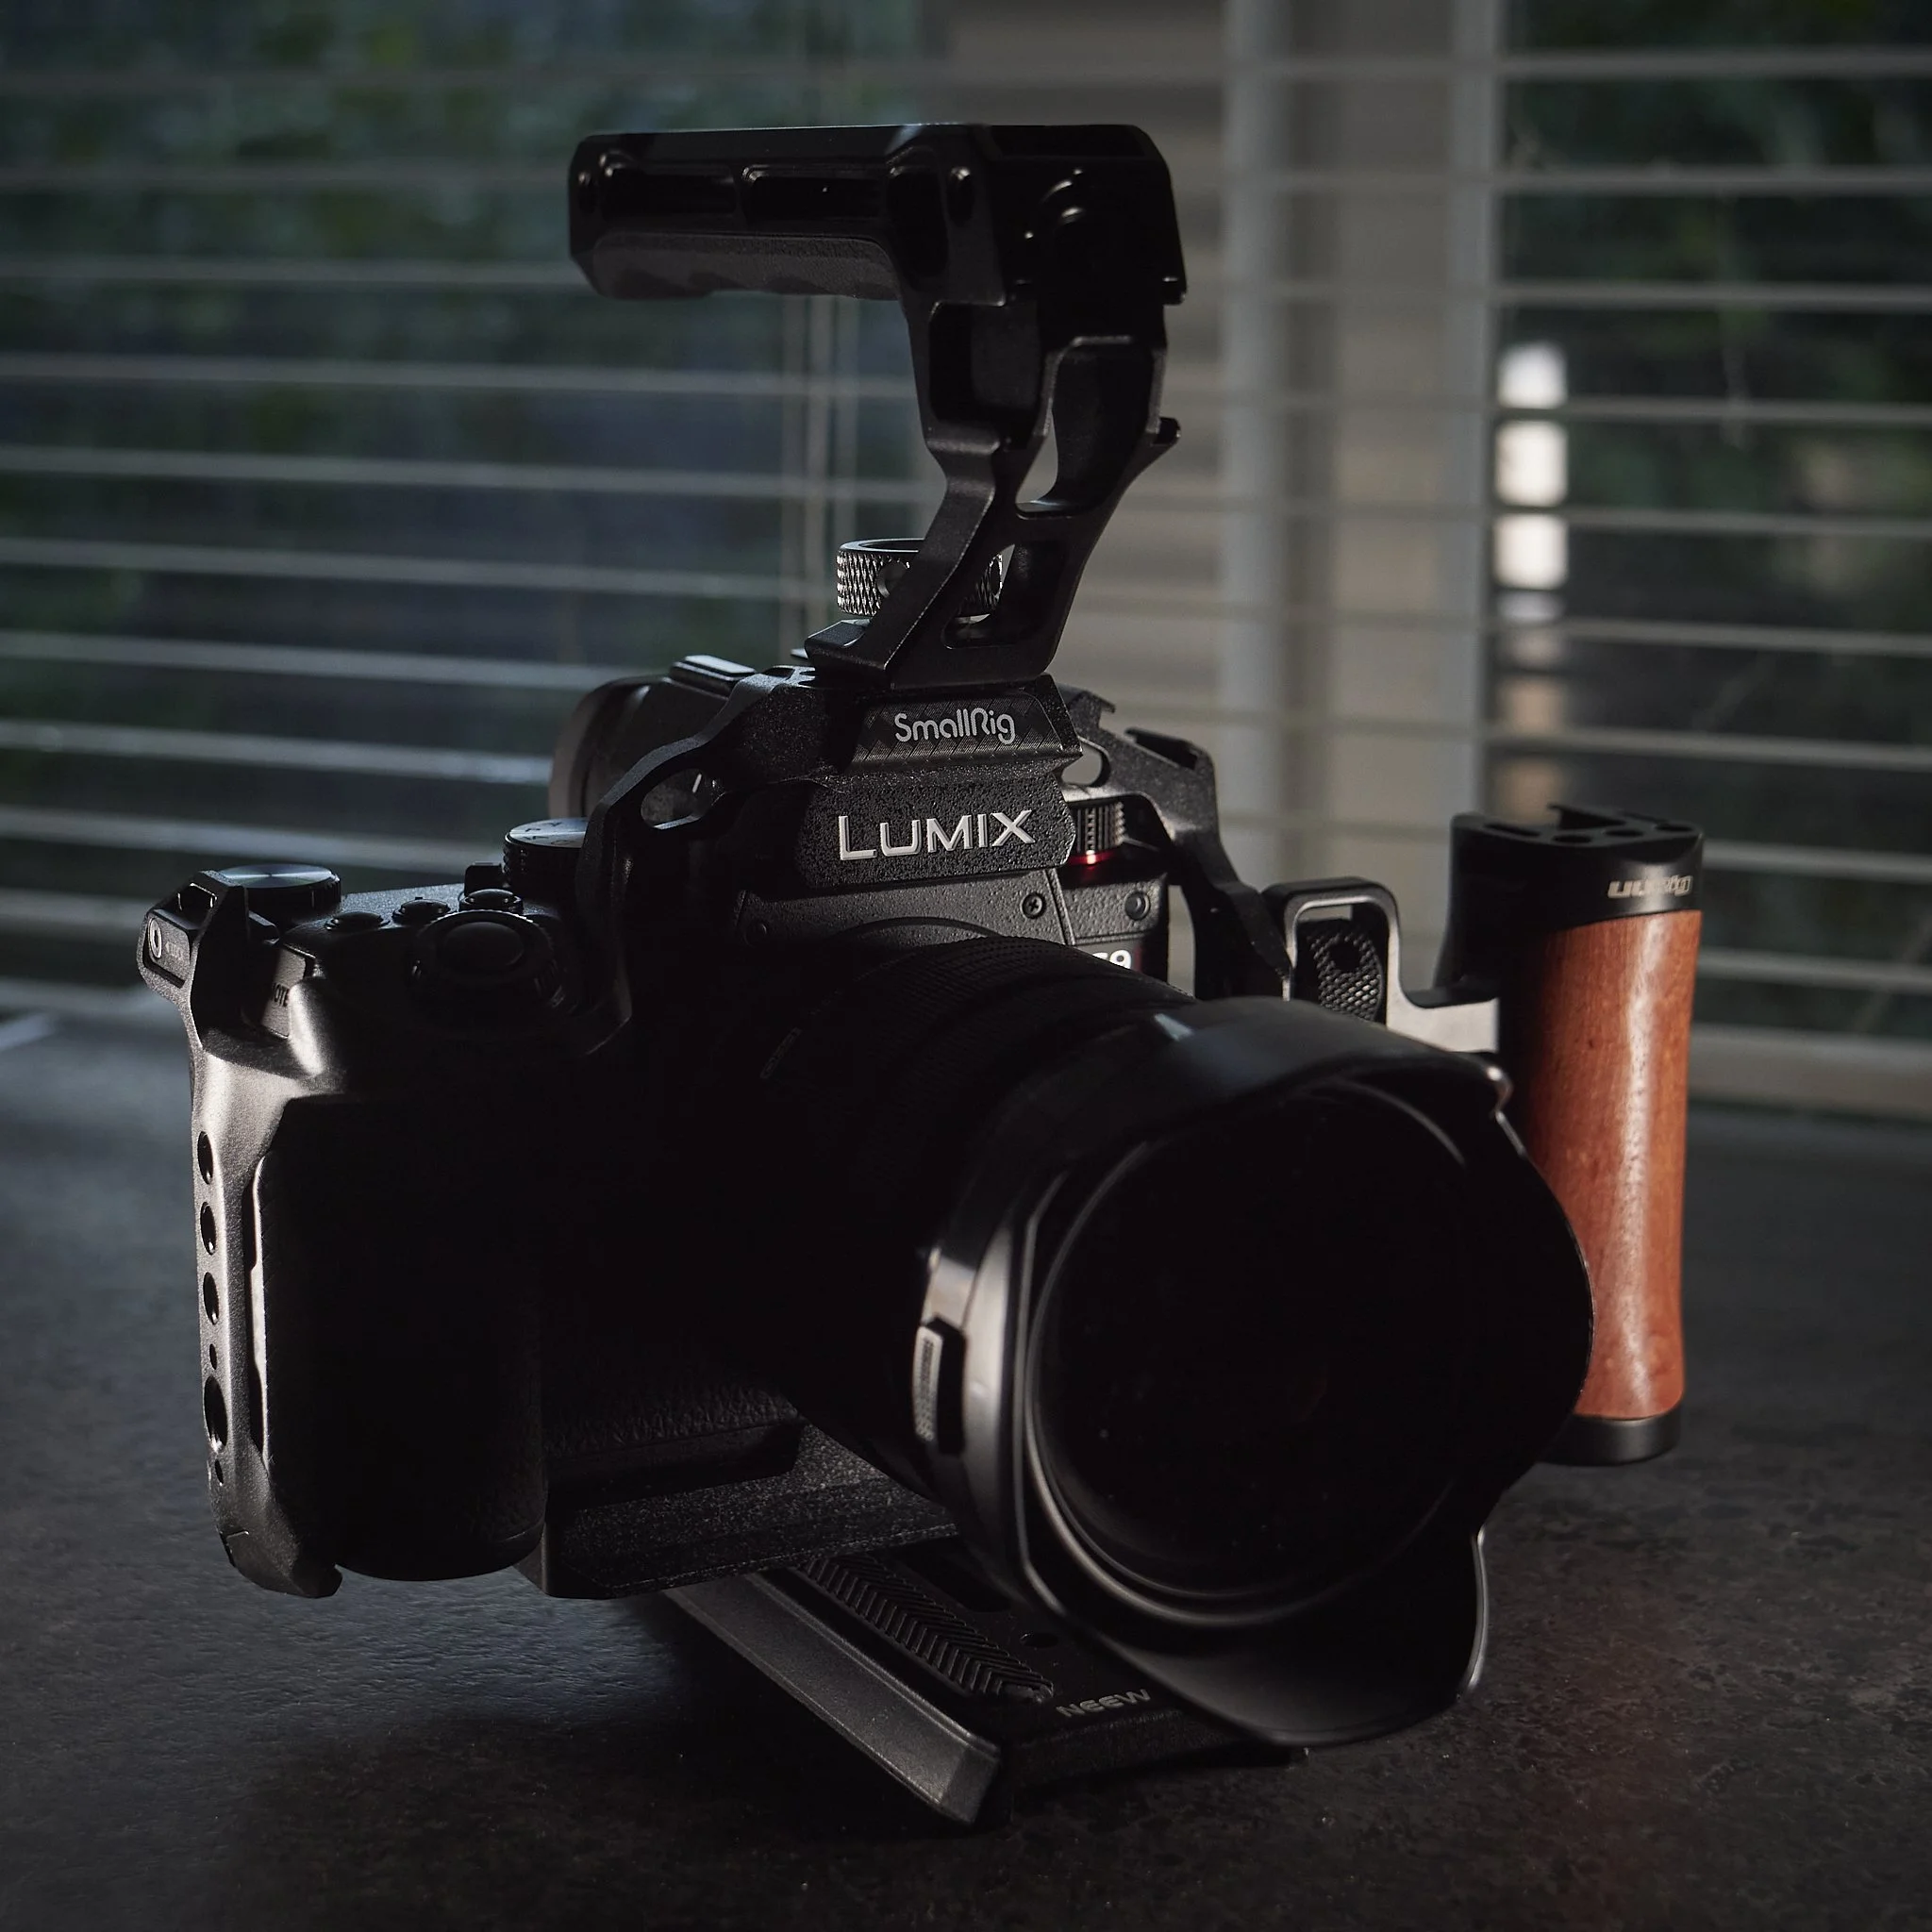
The G9.2 is making its presence felt as the “gimbal” cam I need, getting better results every time I use it. The current winner is a handle on either side, but it varies.
The S5.2 and Sigma 28-70 have become my low light problem solvers.
Hope Cine lenses. Two of many in the crowded mess that is my cine lens stable, but also my happy place that I go to more often than not. On the GH5s they are 45/90mm, so perfect,, on the G9II they are 50/100, so I have combinations.
I only wish they would do them in APS-C L-Mount so I could get another 25 that is a 35 equivalent.
My 300, 40-150’s, 12-40, 15, 9 are heavily used and showing it, but still have legs. The rest of my M43 lens kit needs to be used more and the 30 Sigma, 8-18 and 45’s are getting some.
The EM1x’s, which do the hardest jobs I do, do them perfectly well. Faint praise? I would love maybe a little better low light performance (6400 tops them out, 3200 is better). They are as fast in focus aquisition as I can compose, i.e. my misses are almost always mine, so I do not need faster.
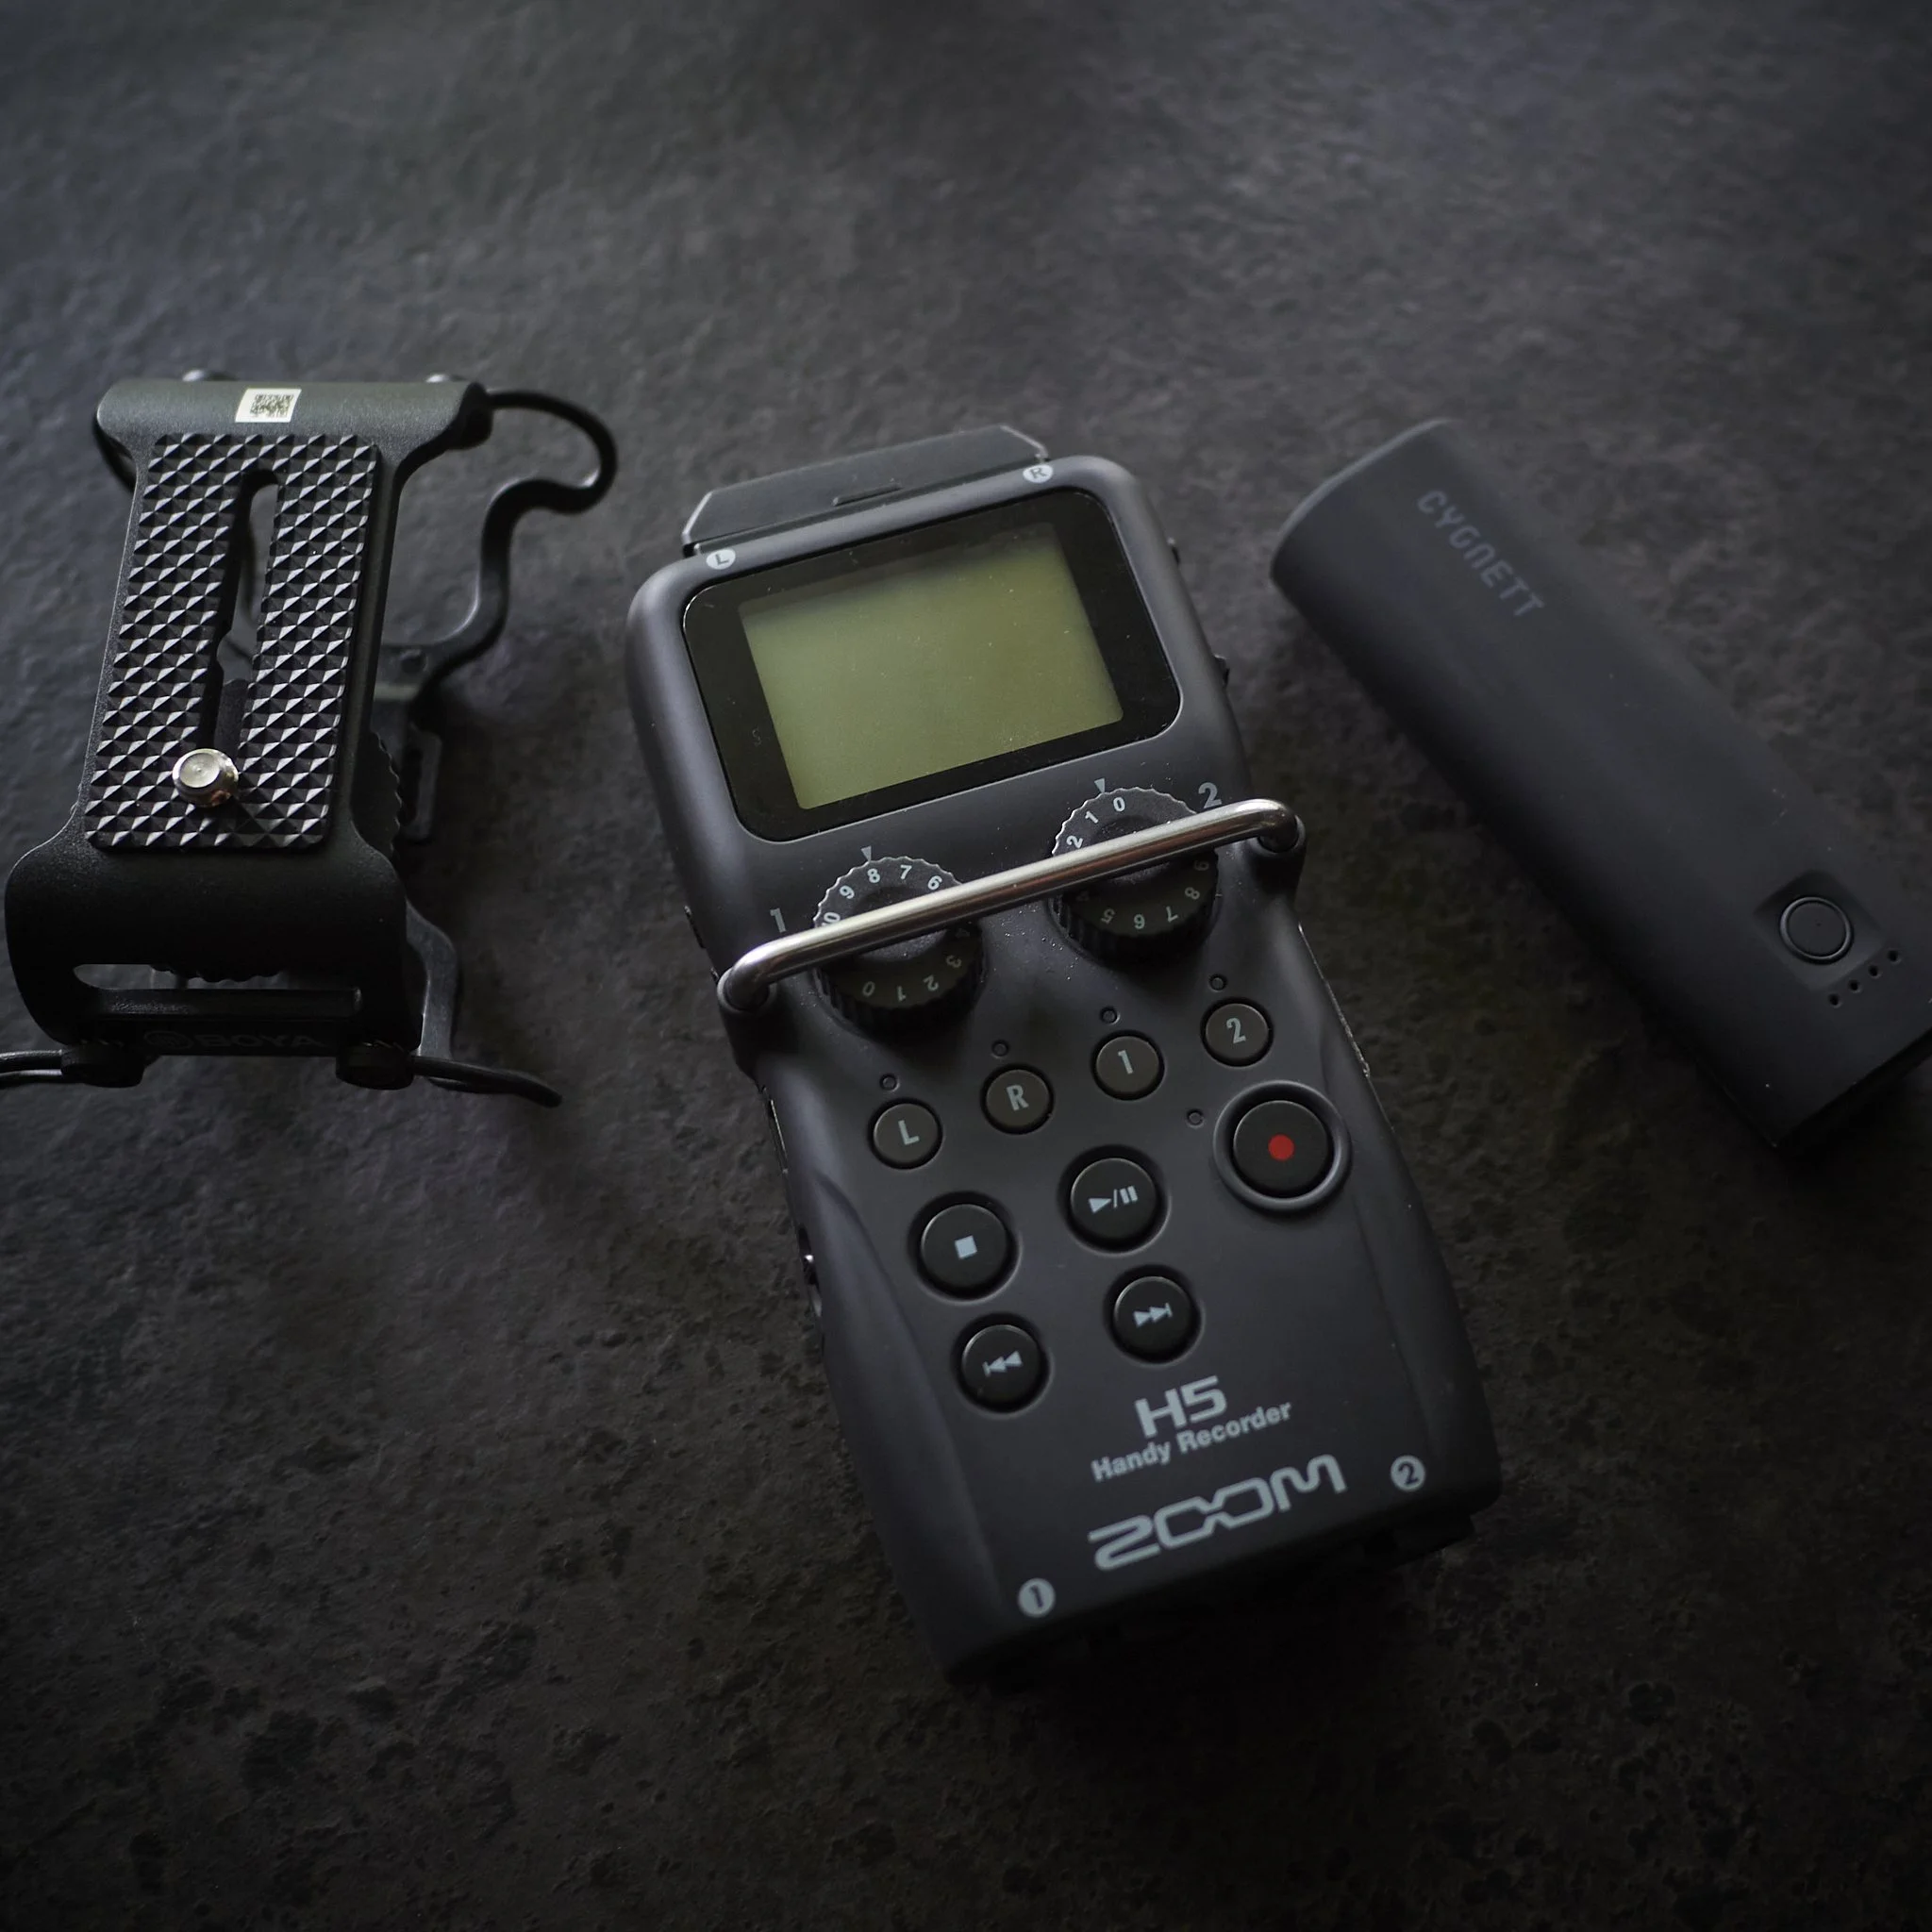
The Sennheisser MKE-600 is fast becoming my go-to mic, especially with the F2 recorder attached or connected to the BMVA 7”.
The RigidPro rig and V-Mounts have totally changed how I deal with all things video. One power source for all my rig, a professional looking and acting camera setup.
The Lewitt LCT 240 Pro is also a little wonder, recording some big spaces with decent presence. I hardly use any of the other mics, but they are there.
Domke F810, F2 and F4 bags and more have all done as asked.
the 5.11 Range Ready and Patrol Ready bags, both handle my video gear and combined, cost less than a true video or camera bag.
Possible future purchases or directions.
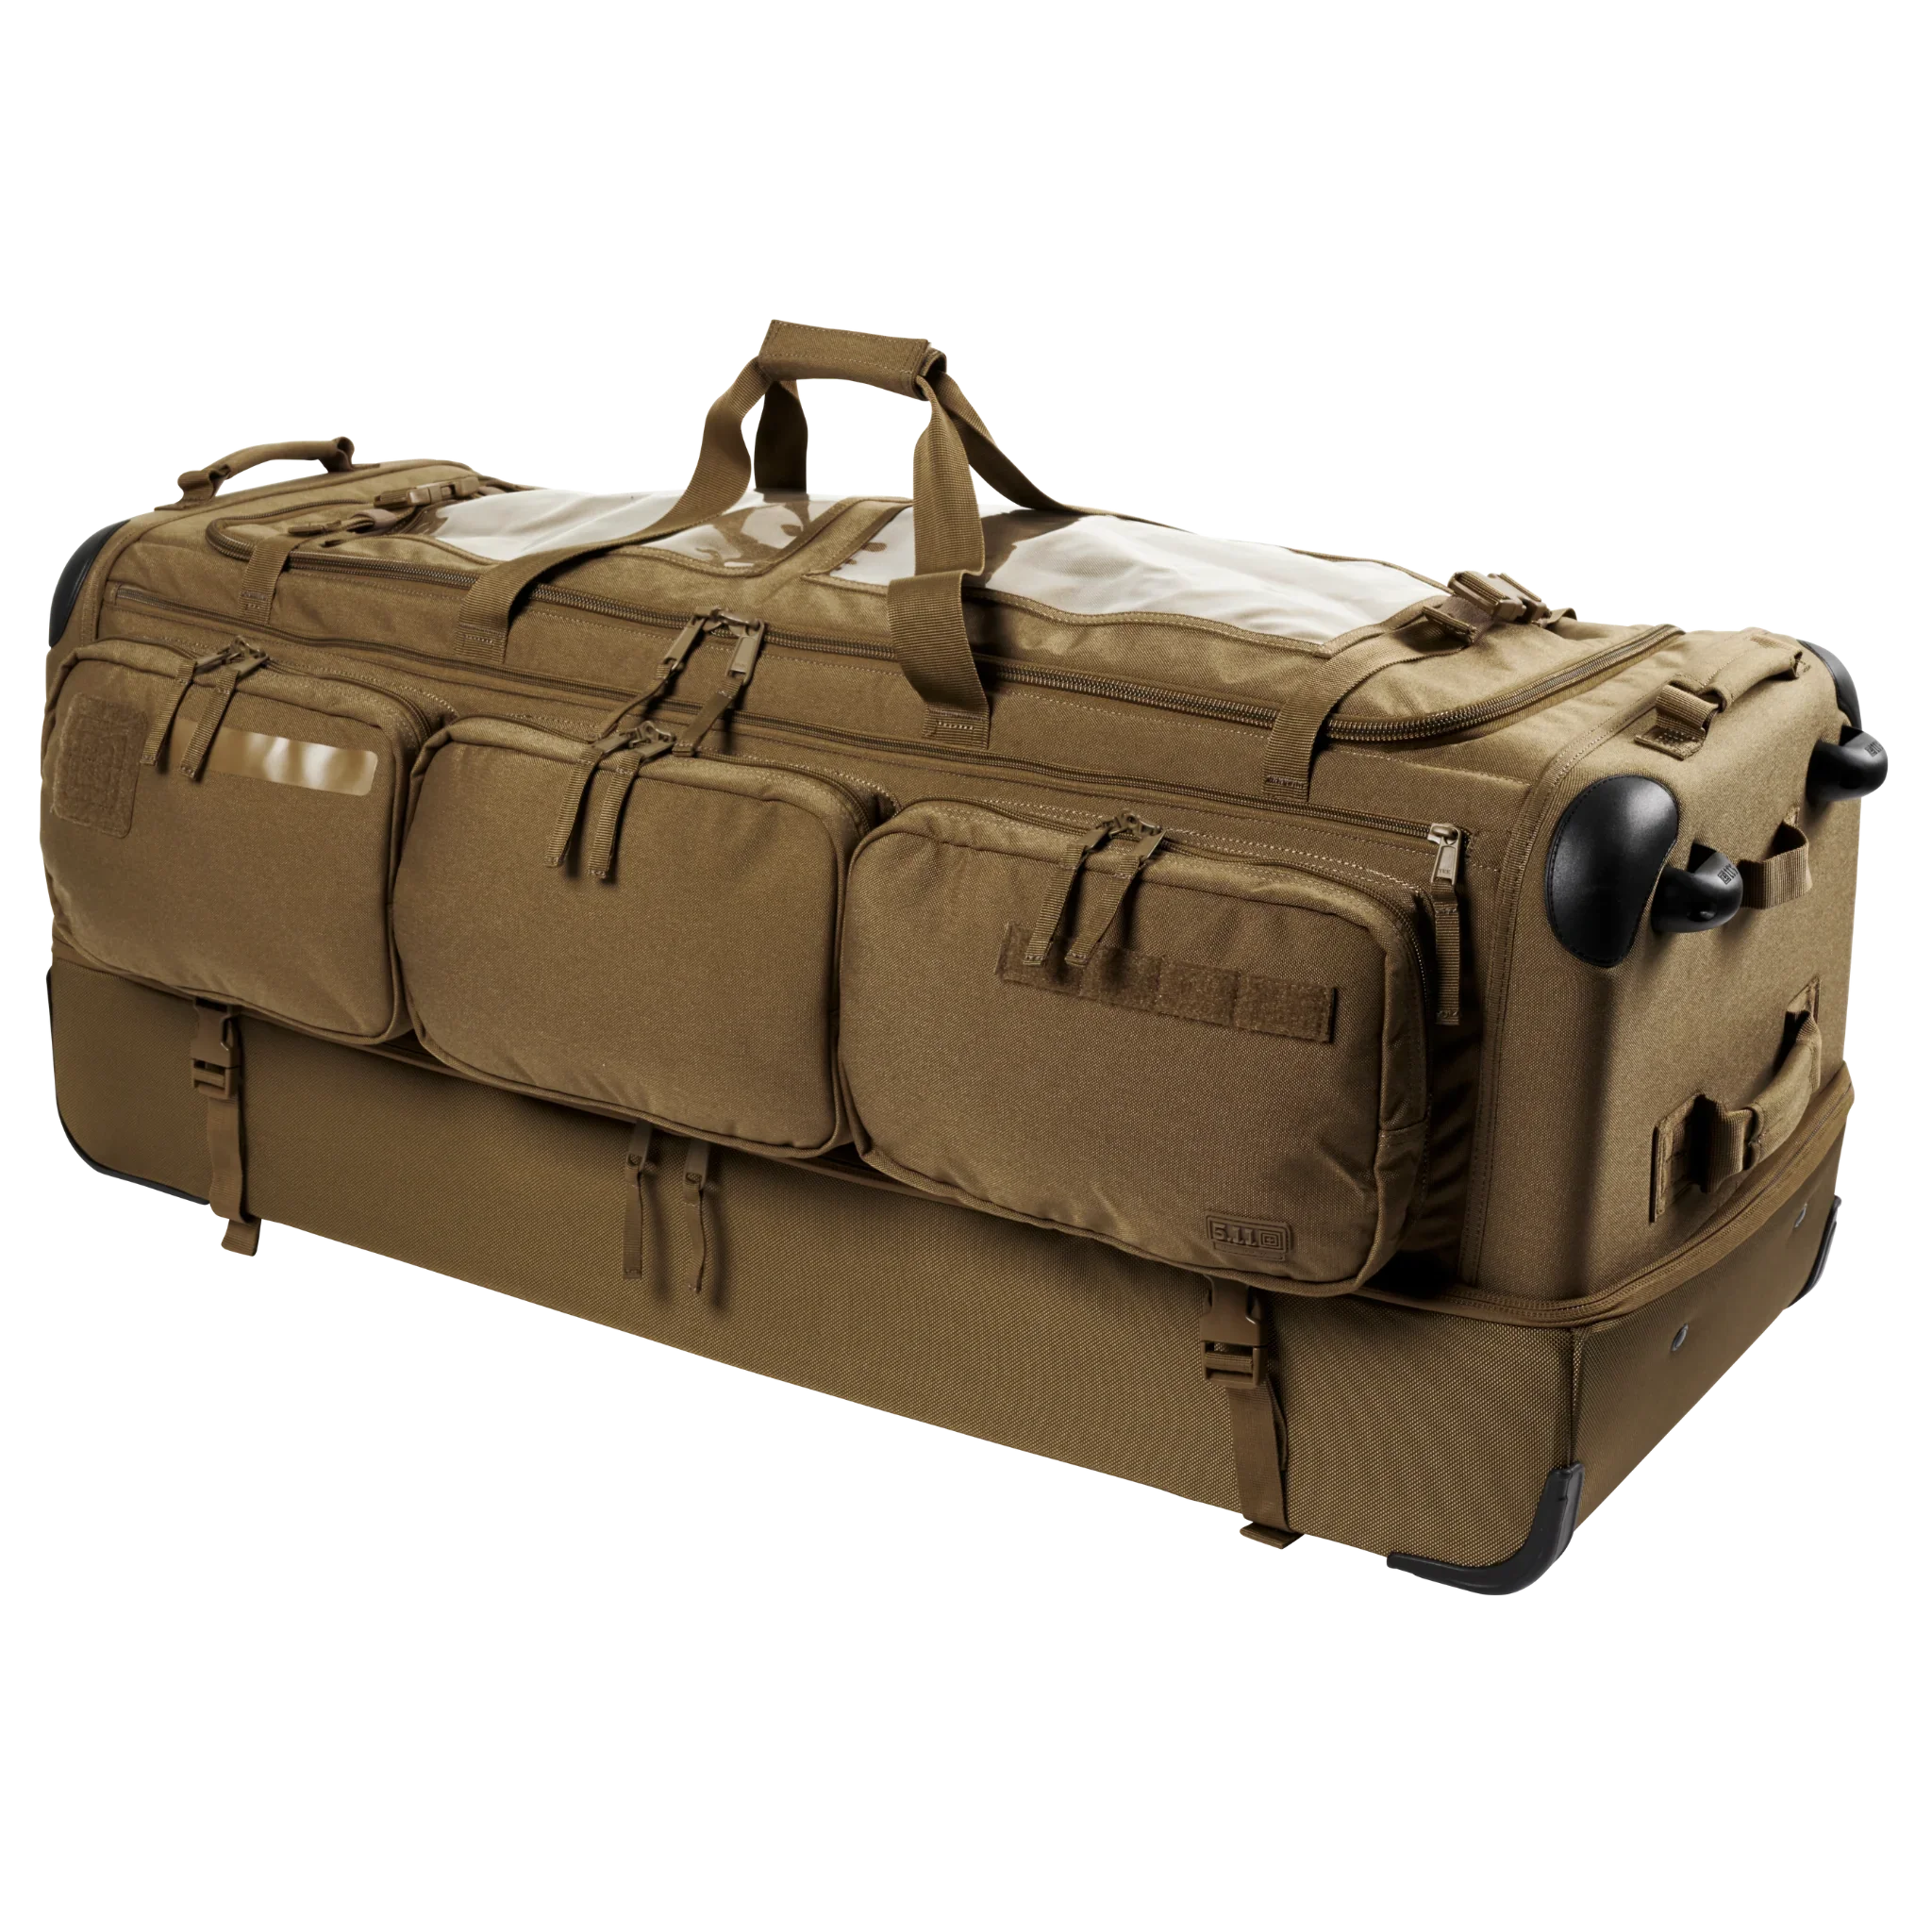
The 5.11 CAMS roller case is in my thoughts. This one bag is 40” long, has a semi rigid base section, a large top section and can I feel, carry all I need for any job in one bag. I have tried a lot of different configurations fro several bags, trolleys clever packing, but this bag, a $500 purchase on its own could be (do I dare use the over used term?), a “game changer” (there, I said it).
It could comfortably hold new and my large AD-01 Tripod, several light stands, some large brollies, a soft box, several mic kits (in hard cases), two or three full camera rigs (in ready to go configurations), backdrops, tools etc and have room for clothing and stills gear. The only issue is to get to tripods etc, I have to lift the main compartment, but I think I can work that and by that stage, the cameras would be out anyway.
The alternative can be anything up to five bags and cases on a trolley, something that is a movable feast to be honest.